
2-Part Conforming Mould
- eindzelitab
- May 27, 2024
- 4 min read
Updated: May 28, 2024

This two part mould was recreated from Todd Debreceni's Special Makeup Effects for Stage and Screen book.
Having previously created a simple 2-part mould with plaster in level 5, I decided to challenge myself for my Final Major Project by making a more complex mould to showcase my advanced skills and techniques. Todd's book provided a step-by-step guide on how to create the mould, which was incredibly helpful.
The first step I did was use my jacket mould made previously which I have a blog post here, and took a cast of the cheek in plaster.

However, I made a mistake by not filling the nose with clay, which I didn't need in the cast. Instead of recasting, I decided to chisel it off, since this cast was only for one part of the mould process. I then painted the cast with a separator from Neill's Materials to allow me to sculpt on top of it and later remove the sculpt. Once I had sculpted the old-age cheek, I drew an outline around it, 0.5mm away from the sculpt, as a guide for the blending edge later. At this point, it was ready to be floated off.

Once the sculpt was floated off, the outline remained on the cast, serving as a guide for the flange that needed to be built around it with WED clay, 1.5 inches in height and width. This was also an opportunity to lay the cast down as flat as possible, ensuring all the lowest points of the sculpt were on the same level, which is crucial for the casting process. This ensures that the silicone will be evenly distributed rather than pooling in one area. During this stage, I also added the keys by carving small circles around the flange and attaching positive keys onto the cast to connect them. Once complete, the cast was placed into a bucket, ready to be moulded with Platsil Gel 25 silicone from Neill's Materials.

Once the silicone had set, it was carefully de-moulded and cleaned out. The original face cast with the WED clay flange was no longer necessary, as this now served as the master mould. I covered the flange part of the new master mould with WED clay to cast only the middle face section. After casting this section in Crystacal-R plaster, I kept it in the mould, sprayed down the sides of the cast with J-Wax releaser, and weighed it down with a cup of bolts to prevent it from moving during the next step of casting the flange in plaster. Once dry, it was de-moulded and ready for the next step.

I placed the sculpt back onto the master cast and re-added the detail while blending out the edges. I outlined where the cast meets the flange with a marker, which is crucial for the next step of covering it in WED clay up to the outline. This clay will act as the negative space later on for silicone. However, for now, I covered it in WED clay, about 1cm thick all around, and smoothed it out. This is also the stage where pour tubes are inserted into the clay for later use. I used boba straws as they are wider than normal straws. It's important to spray the clay down with a releaser to prevent plaster from sticking to plaster and creating a bond.

I built a wall around the cast with WED clay and poured in plaster. Once it dried, I de-moulded the plaster and removed all the straws. Initially, I thought I could just cut them with an exacto knife, but I realised it was better to remove them completely as they were actually sliding around. After removing any clay and the paper towel from my sculpt, it was ready for the next step!

I added flashing about 0.5mm away from the sculpt, and then added extra flashing extending away from it to provide space for the additional silicone when casting the prosthetic piece. I cut the flashing at a 45-degree angle on both sides to ensure a smoother transition in the mould. This helps the casting material flow better and reduces the chance of pooling or tearing, especially with cap plastic. Once this was complete, I assembled the mold after spraying it down with a releaser, and injected pigmented Platsil Gel 25 silicone into the pour holes using a syringe. I chose Platsil Gel 25 silicone for its higher shore hardness, which I find more suitable for mould-making as it can withstand more repeated usage.
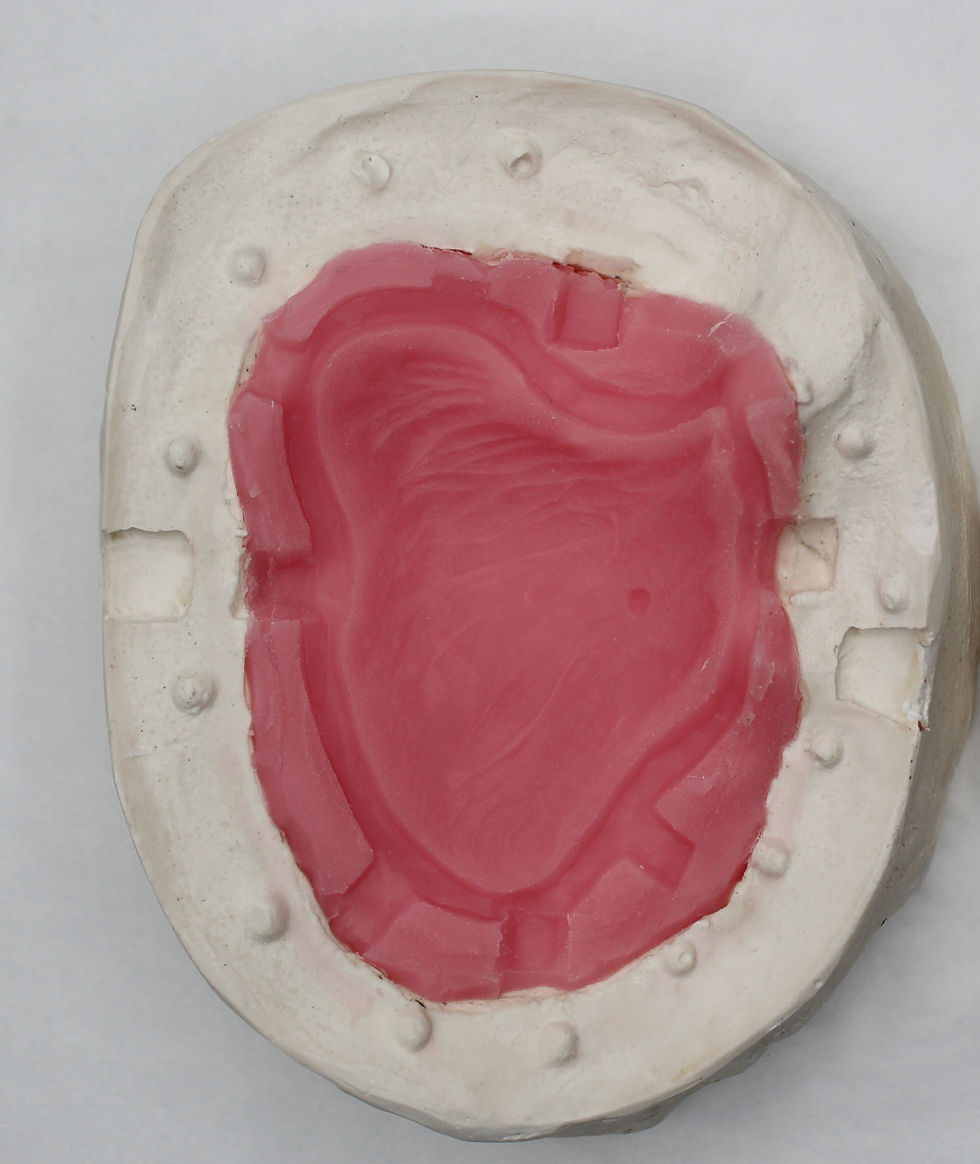
After the silicone set and was de-moulded, as shown in the left photo, it was ready for casting. I removed all the clay and sculpt from the mould, and at that point, it was ready to be casted. The first step was spraying down with a releaser (which seems quite repetitive in this post) and brushing on cap plastic on both the silicone part and the other plaster part of the mould. Once dry and ready, I casted it with Platsil Gel 10 silicone, as it is softer. I poured it onto the silicone part of the mould and then placed the plaster part of the mould on top. I used a 5kg weight to keep it tight and ensure any excess silicone would pour out. It's important to note that when using weights, you have to be very careful with the weight distribution over the mould. If it's too heavy on one side than the other, the cast may not turn out successful as some silicone may pool in the blending edge or be squished out, not picking up any detail, especially because there was a silicone layer inside of it.

Showcased on the right is the final cast out of the 2-part mould. In my opinion for my first attempt at this specific mould i did a very good job.
To summarise, this was a very lengthy process, however, i learnt a lot from it. I built upon my existing skills and really challenged myself.
Thank you for reading!


Comments